Royal Colour Restoration

Royal Colour Restoration

This wonderful old photo of the Japanese royals was brought in by Her Majesty Nanasipauu Tukuaho Queen of Tonga. Unfortunately the original photo had been in a frame near the window and was exposed to the sun for many years before it came to me. So now it was sun bleached and almost completed faded away.

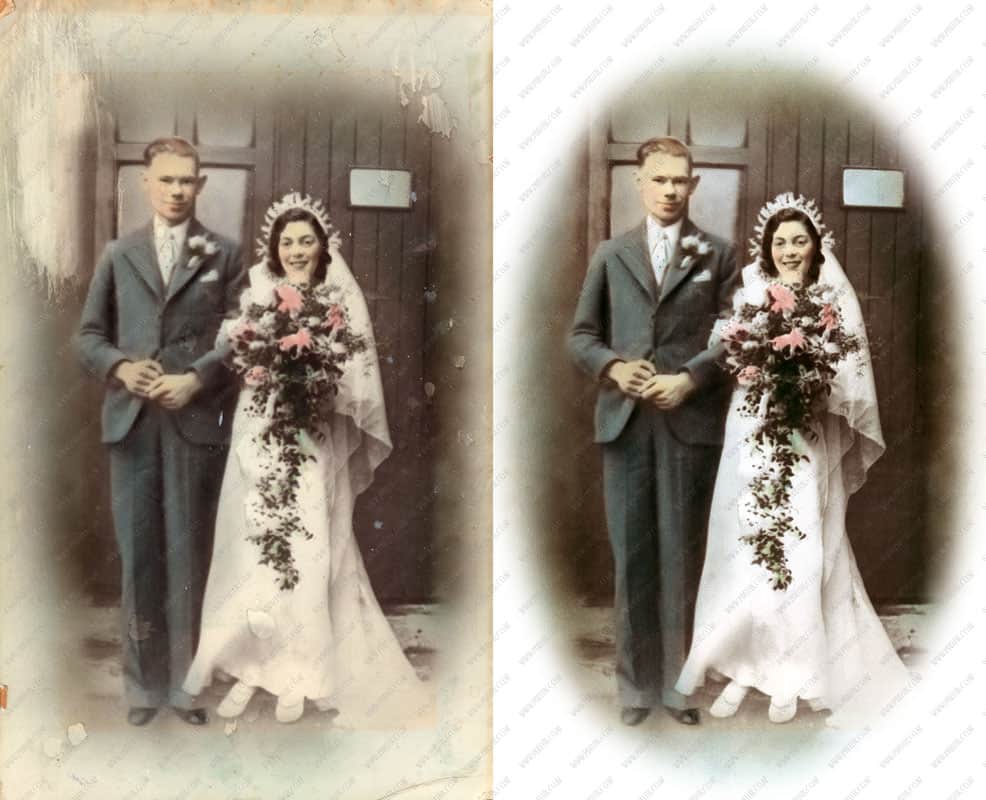
Any colour that may have been present was lost due to the bleaching. Restoring the colour was not an option. This require a complete re-colouring to bring this back to life.

I had to research the correct colours for the sashes and the orders. But the background and the carpet I were to improvise. But I think you can see that this process of colourization really does bring this photo back to life.

Before and After

Royal Colour Restoration
Heavy Restoration $240 plus prints 

Customer Feedback

Hi Richard,The photos are amazing and I am so pleased.

Many thanks,
Nanasipauu Tukuaho

Wedding Day Restoration

Russell brought me this wonderful old wedding photo for restoration. It had faded and discoloured. but I was able to restore the damage and return this wonderful family portrait back to its original condition. It can now be enjoyed for many years to come. 

I hope you enjoy this example of photo restoration from the 1920’s. All restorations are carried out by PixelFIX Photo Restoration.

Wedding Day Restoration Before & After

black and white wedding photo restoration Wedding Day Restoration
medium restoration $100 plus prints

Removing cat pee

Joy brought in this wonderful old photo that needed to be restored because it had been damaged by her cat. This was a very old portrait of a solder that had been framed in a dome-shaped frame. This meant that I couldn’t scan this on a flatbed scanner as it was flat. So we digitized this by taking a high-resolution photo. This gave us a digital image that we could work with. In Photoshop we then removed the damage to the surface areas and replaced the background. The new background meant that it could now be printed and framed into a normal frame.

Removing Cat Pee Before and After Photo

Removing cat pee
Heavy restoration on large photo $250 plus prints

Another 5 Star Review and Great Photo Restoration

Urshila brought in this wonderful wedding photo taken in 1978 to be restored. The photo had some discolouration from ageing and Urshila wanted the highlights removed from the back wall area.

Great Photo Restoration

The Picture restoration process consisted of correcting the colour  using curves adjustment layers and a selective colour correction layer was added to remove the discolouration. Then all that remained was to use the healing and cloning tools to remove the highlights. I printed out a nice large A3 photo for them to go back up on the wall. 

Urshila was so happy with her photo restoration that she was kind enough to add a review on google you can read about it here.

Wow that looks great!
​-Urshila

Richard has done a great job restoring my parents old wedding picture. He did it within a week and there were no hassles at all. Great communication and 5 star work!
​-Urshila

photo restoration

Large colour photo restoration $80

Restoration Team Effort

This isn't England after their semi-final match in the football World Cup. But it did need some restoration!. This is the Coromandel Rugby Club back in the last century, 1899 to be exact. Team photos are often sent to us for restoration. They are probably the most difficult to restore.

This is because of how many faces and how much detail need to be correct. If you smudge a tree in the background it may very well go unnoticed, but smudge somebody's eye in a team photo and everyone will notice the funny-looking guy that you just smudged. This one took a good 6 hours to restore and clean up. But looks very nice now, especially with its new framing and matt border.

Before and After Restoration Team Effort

Rugby team photo restoration
Heavy restoration $240 plus prints


Restoration of a discoloured photo

Ted brought in some wonderful photos for restoration from his days as a pilot with Air New Zealand. The photos had faded and suffered from discolouration. This is very common and happens to just about every photograph. But we were able to restore the colour and brighten up the image.

There are many methods to restore colour but for this one we used curves adjustment layers with some masking here and there in Photoshop. The old livery of these Air New Zealand aircraft have come out looking much better and has taken Ted back to the good old days I'm sure.

Before and After Restoration of a discoloured photo

Colour Photo Restoration - Restoration of a discoloured photo
Light restoration $60 plus prints

Old Soldiers Should Never Fade Away

Amy sent me this very badly faded old photo by Courier Post. When it arrived it was virtually gone, it was barley visible. But I did a scan and using a variety of Multiple Layers and some heavy burn and dodging I was able to bring this old soldier back. But when the image became visible again.

Old Soldiers Should Never Fade Away

So did the hundreds of small cracks that covered the surface of the photo paper. You see this was not the original photo it was a copy that had been made at some time using a 'dye sublimation printer'. They are very commonplace and will most likely find them in your local pharmacy where they use them for passport photos or to provide prints from a Kodak kiosk. the problem is they don't last!! and this is how they end up... faded and cracked!

A few hours of extra work was needed to remove the cracks and finish off the restoration. To the delight of Amy who was over the moon. So much so she gave us a 5 star review on Google.

We had a photo which had almost disappeared due to sun damage and had been told it was not possible to save. Luckily I decided to have 1 last try and Richard did an amazing job giving a beautifully clear photo. Thanks.

Amy - Dunedin

Before and After Old Soldiers Should Never Fade Away

Faded Photo Restoration
Medium Restoration $150 Plus Prints

Close Up Example

Old Soldiers Should Never Fade Away
Photo restoration close up

How to remove mould

Todd sent me this very old and tired photo for restoration. It had suffered some severe mould damage and needed a good cleanup in Photoshop . The mould shows itself as light and dark patches. But because there are so many we can't use the spot removal or the healing brush in the normal way.

How to remove mould?

If you do then the light and dark patches are 'merged' and they become neither, ending up is a mid-tone grey. What was needed was to pick an area and decide if the surrounding blotches needed to be made lighter or darker to match the good areas.

Then using the healing tool set to either 'lighten' or 'darken' mode I was able to match the damaged area with good areas, without merging the two and making everything muddy and grey. The results are very good and the faces became much more visible and the whole photo looks very presentable.

Google Review

Richard at Pixelfix did the impossible by taking an old family photo from the late 1800s that was suffering from significant mould damage and fading. I didn't think he would be able to do much with it, but I was wrong. Thanks Richard for breathing new life into a cherished family portrait.

- Todd


Before & After

Photo Restoration B&W - How to remove mould
Medium Restoration 4+hours - $160 plus prints

Wedding Disaster

Wedding Disaster Unfortunately there were lots of moisture damage. I believe someone had spilt liquid on it then tried to wipe it dry.

Please don't do that at home. If you ever spill liquid on a photo then please don't wipe it. Just let it drip dry and hang it up somewhere. Once it is dry then contact us and we can then restore the damage. As you can see below It looks better than ever now it has been restored.

Before and After Wedding Disaster Photo


Photo Restoration
Medium Level Restoration $120 plus prints

Posts navigation

1 2 3 4 5 6 11 12 13
Scroll to top